
Making your presence status work for you

You have many different presence options to use within the 3CX VoIP phone system. A presence status shows whether you are available, busy, away, or doing something else. By setting up your presence options to reflect your unique work needs, you can maximize the way your phone system works for you.
Your system has five presences to choose from. Three of them have names that are permanently set by 3CX and cannot be changed: Available, Away, and Do Not Disturb. The other two are custom presence statuses that can be named by you as a user or by your 3CX administrator: by default, they function as Available 2 and Do Not Disturb 2. You can change the behavior of each one of these five statuses to suit your needs. As a user, you may change basic presence settings. As an administrator, you have even more control over what a presence status can do.
Here is an example of one way to configure the five presence status options:
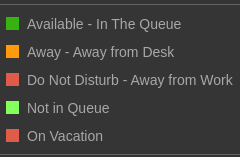
In this example, you can see the first three status options have custom status messages to help show what the status means. The two custom status options at the bottom have their names modified to show what they mean. You cannot change the names of the first three statuses, only the last two can have their names changed.
Changing 3CX user settings
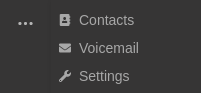
You can control the behavior of each status within your 3CX user settings. From within the 3CX web client, click on the three dots (…) and then select Settings.
Once inside Settings, select the Status tab to make changes to your status settings. You will be able to independently change each status.
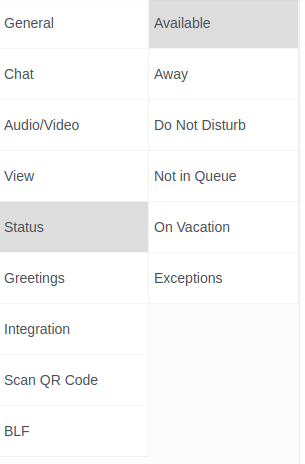
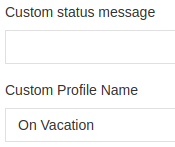
The settings themselves are very intuitive, and you may play around with them to see how they perform. You may input a custom name on the last two status options.
Changing 3CX administrator settings
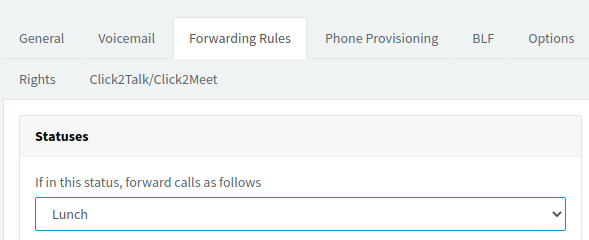
If you are a 3CX administrator, you have a few more options at your disposal. First, you will need to login to the 3CX Management Console. Please know that most SyncWave customers do not have access to the Management Console by default. Once inside, select Users and click on the user you want to modify. Next, select Forwarding Rules from the top menu. You will then need to select the status you want to modify within the drop-down menu.
You will have more options to modify here than in the web client view. For example, you can set the status to log the user out of calling queues whenever the presence status is selected. This is handy for office-based workers who may need step away from queued calls for a bit but remain available for calls from their coworkers.
you may input a custom name.
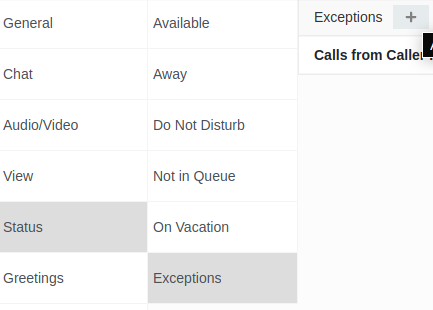
Finally, you may configure exceptions to the rule. For example, if you want to make sure that Jane Smith can call you even when you are on Do Not Disturb, then you can configure an exception for Jane Smith. You may do this within the 3CX web client. Simply go to Settings -> Status -> Exceptions and click on the + icon at the top.
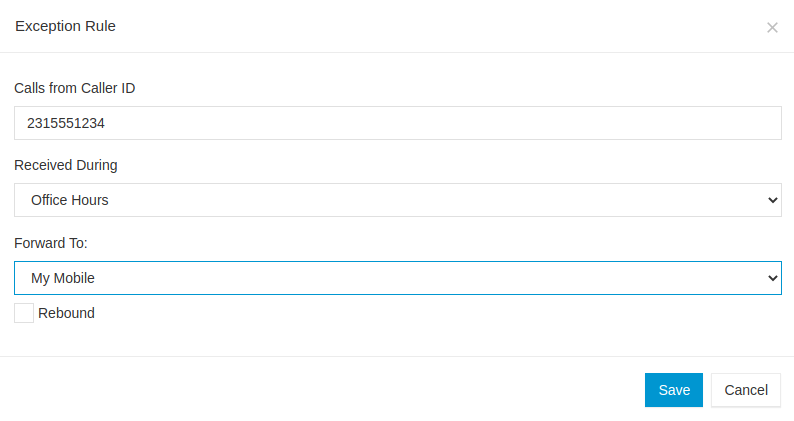
From here, you can setup rule exceptions for when certain people, such as Jane Smith, call you.
3CX gives you lots of power to make the phone system work for you! Dig into the Settings to better understand the five status presence options, to change them to suit your needs, and even set up exceptions if you want to make sure that certain people can always call you.
September 23, 2021 | Dominic Hasbrouck